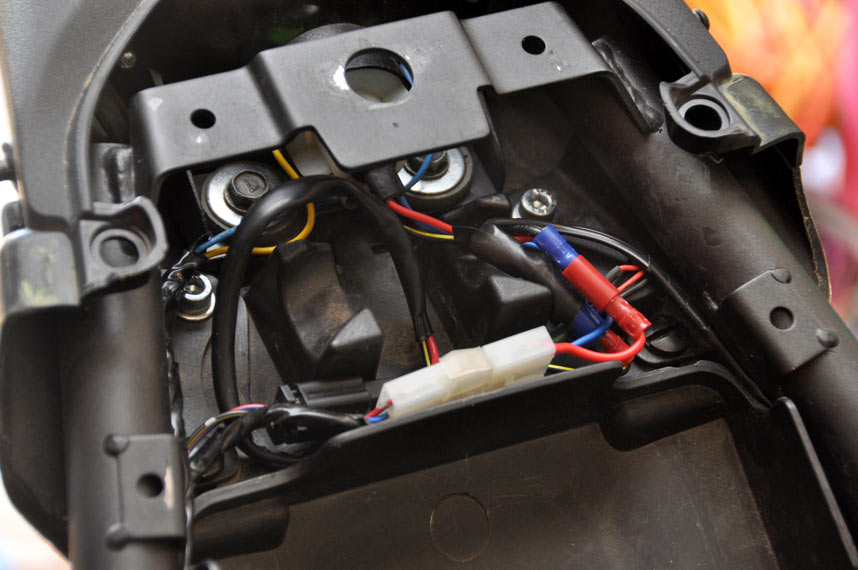
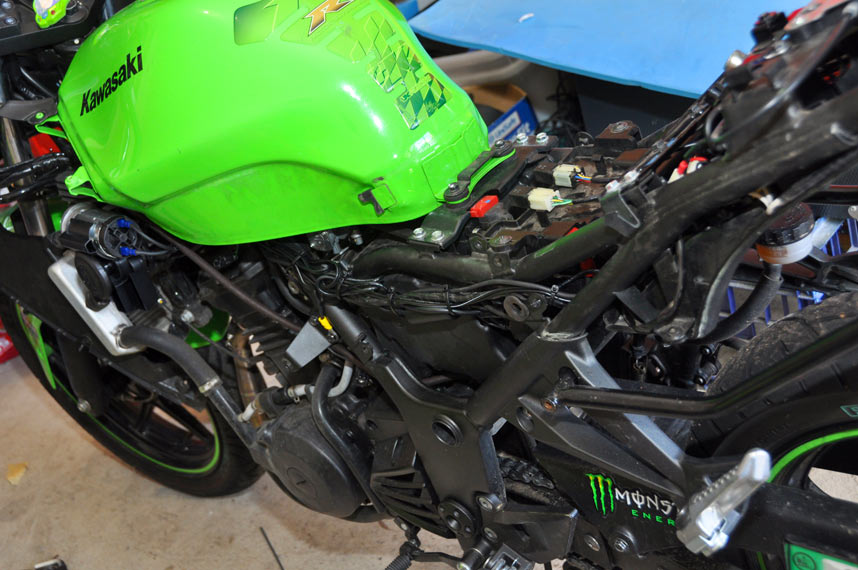
Kawasaki – Japanese for “we put your horn in such a place that it makes it impossible to put it on a headstem stand”. I swear – look it up! :p
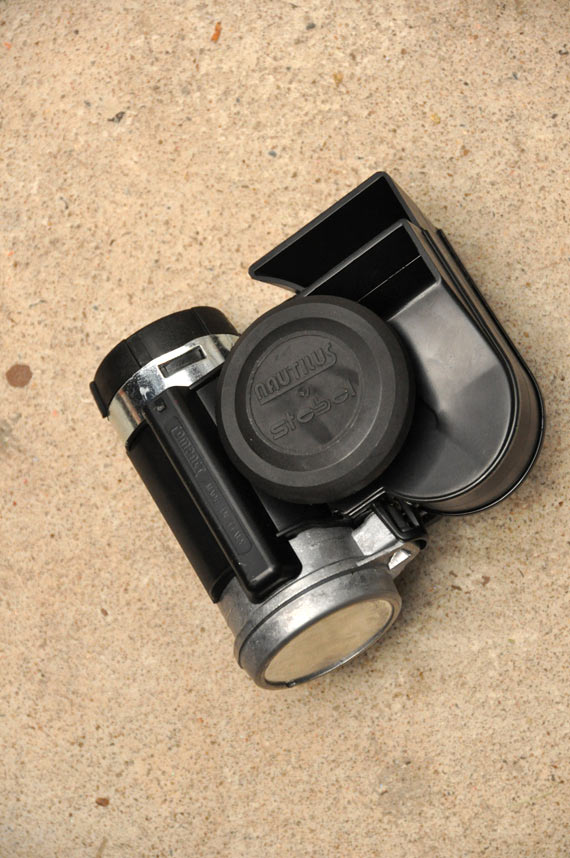
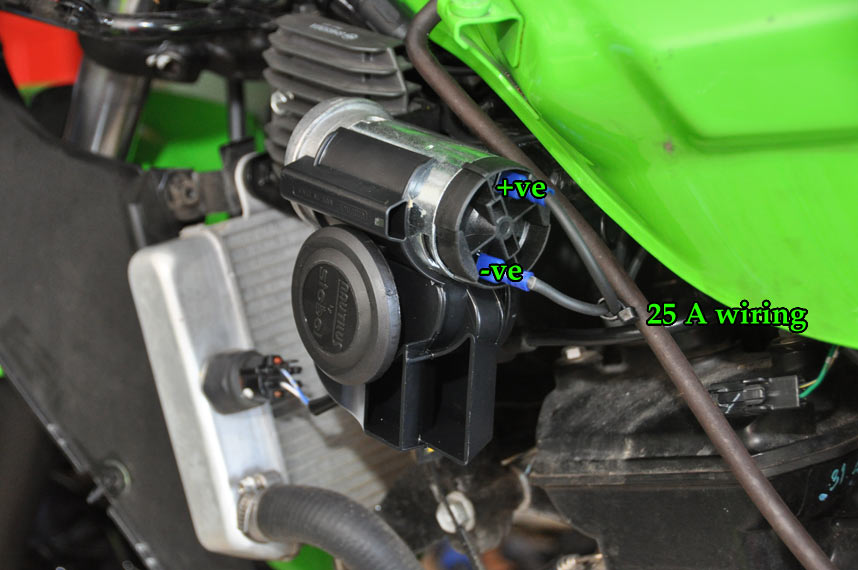
After months of fking around having to take it off everytime I needed/wanted to put it up on stands we bought one of these:
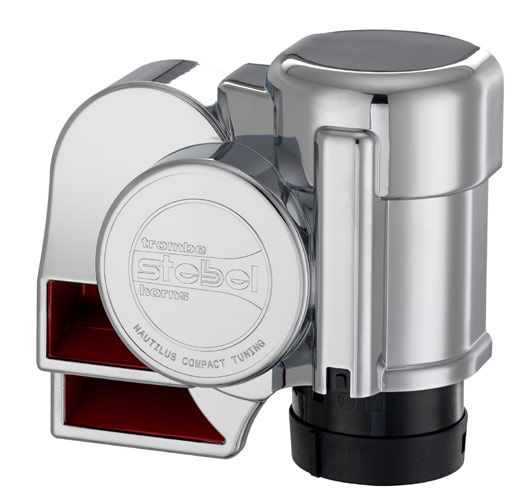
Hehehehehhehehe – Youtube/Google ‘Stebel compact nautilus horn’ it’s full of win!
When I first got my bike, my wonderful Mom (brownie points for mentioning her) bought me a Motorcycle GPS. It’s the same as your regular Navman or TomTom, except it’s waterproof, comes with a handlebar mount and the screen is able to be used whilst wearing gloves!
It had lived in the box since the day I got it, only ever pulling it out of the box to have a play. Nifty little thing it is, really voids the whole “I need a clear tank bag so I can put maps in it” thing. WIN!
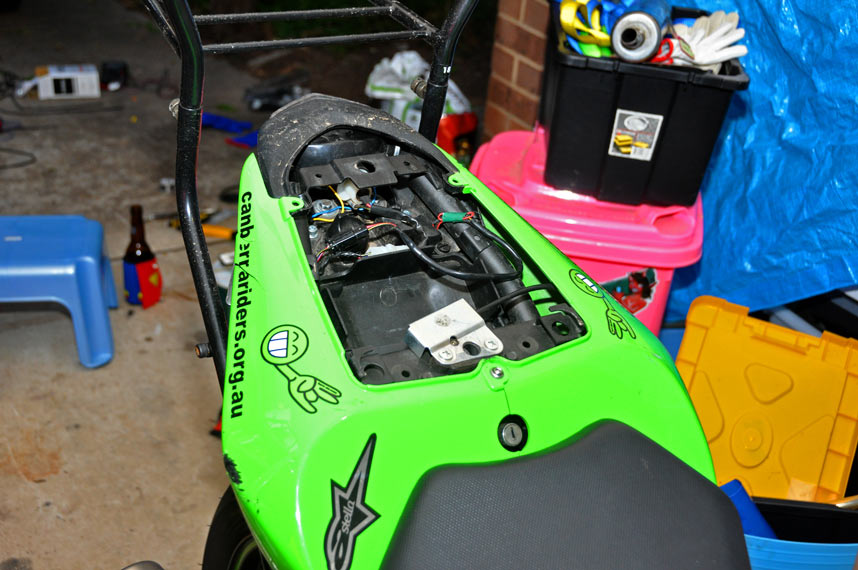
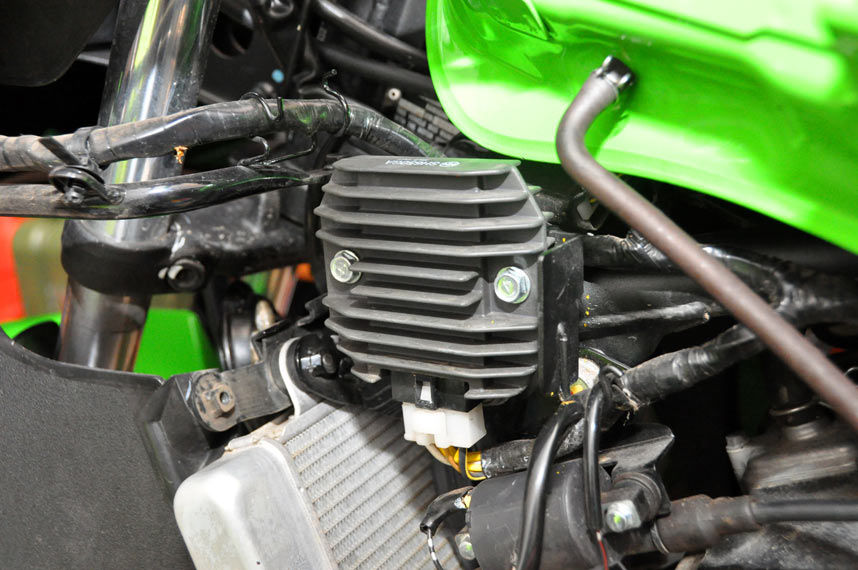
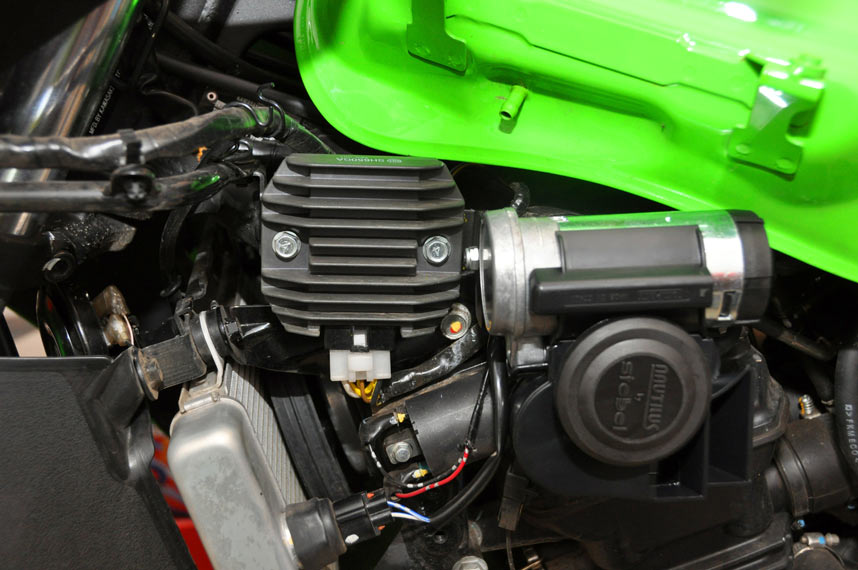
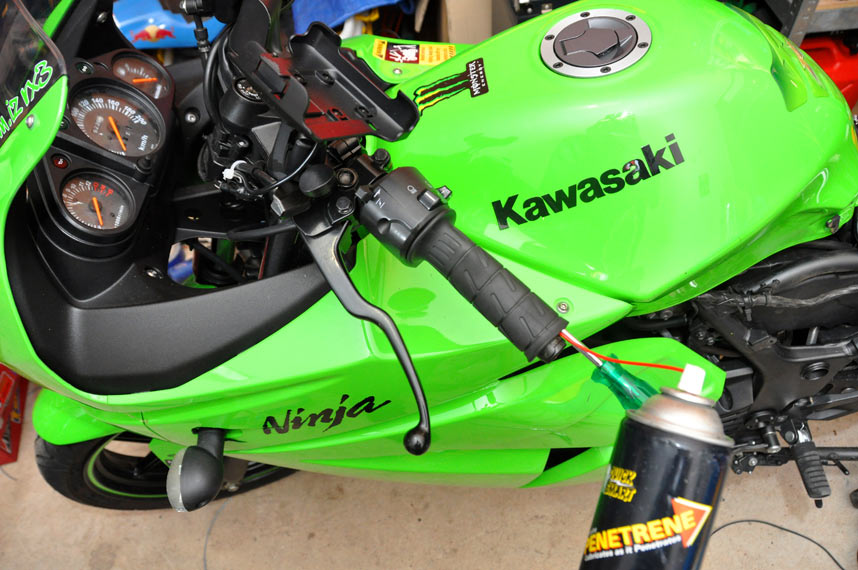
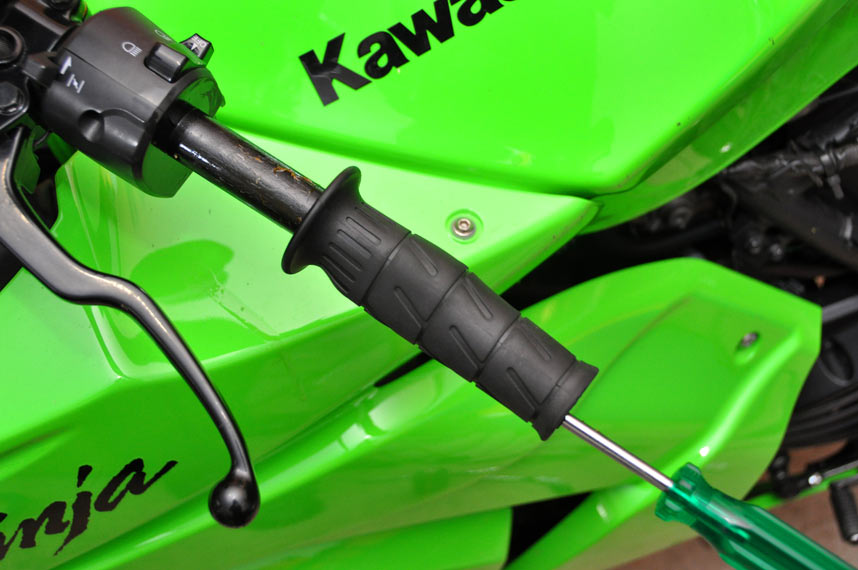
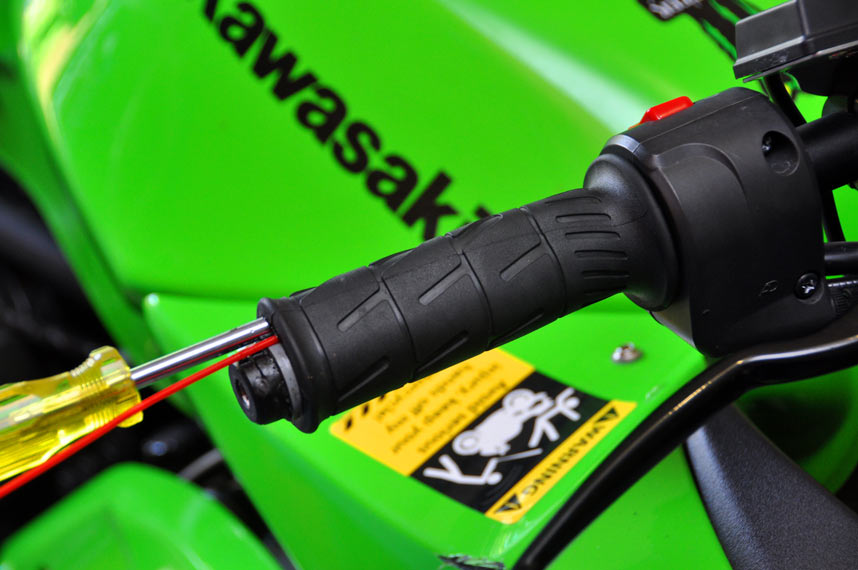
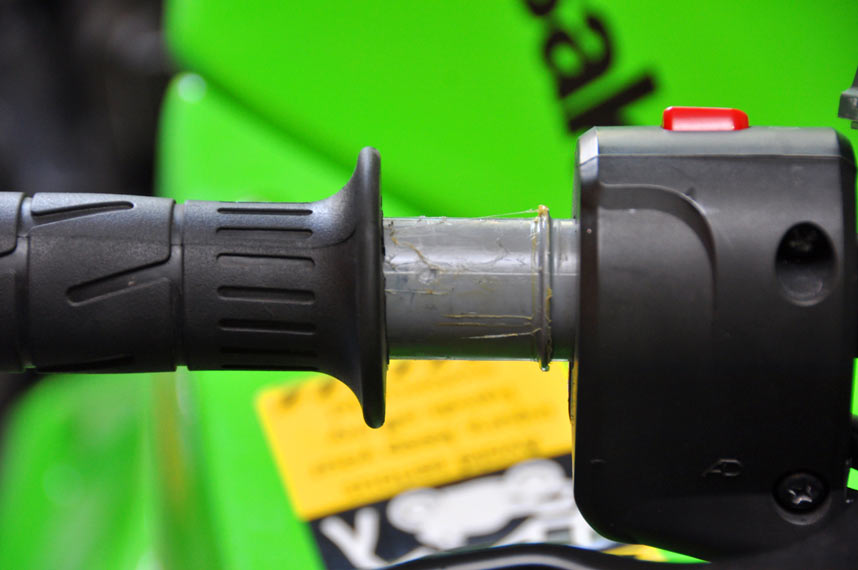
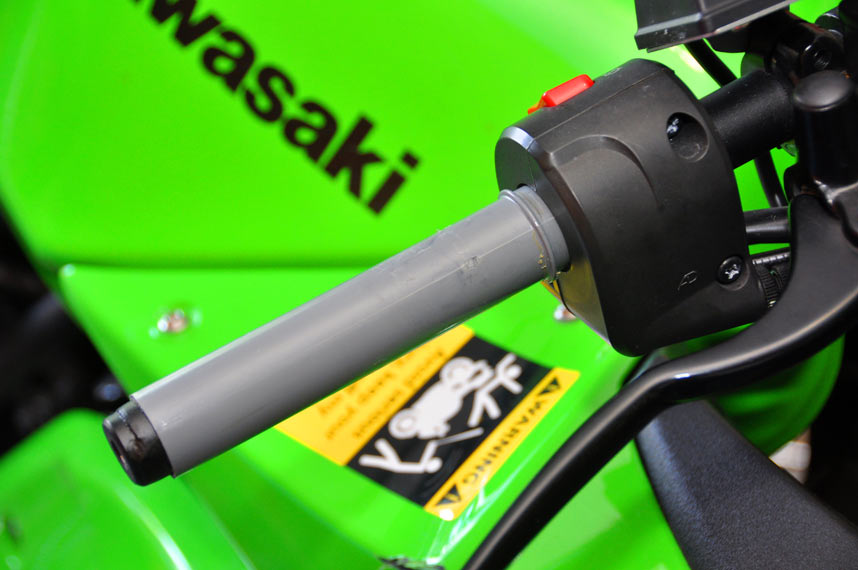
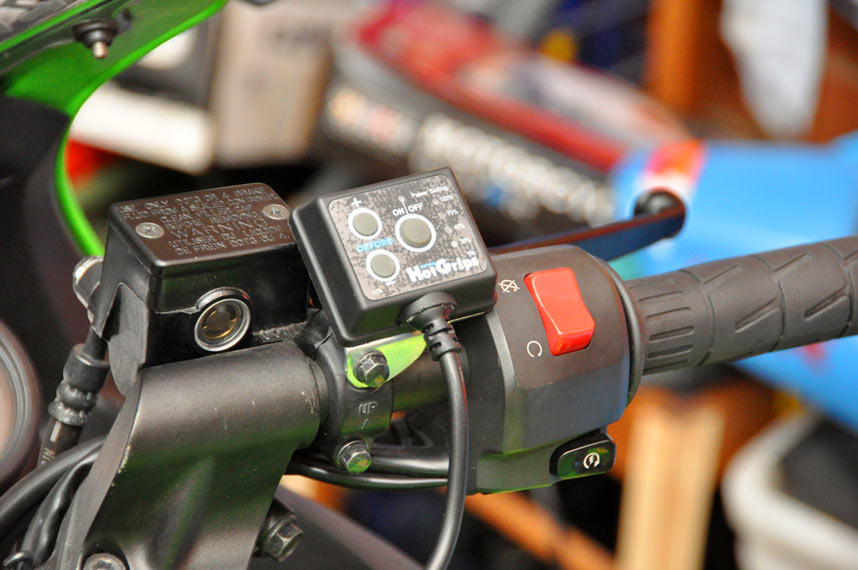
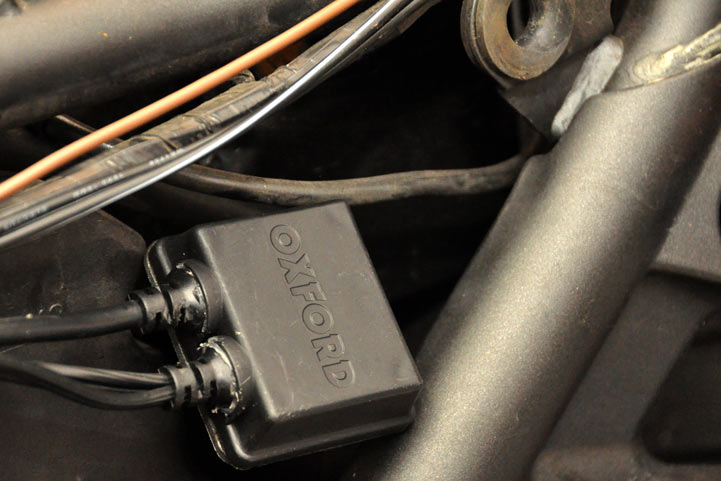
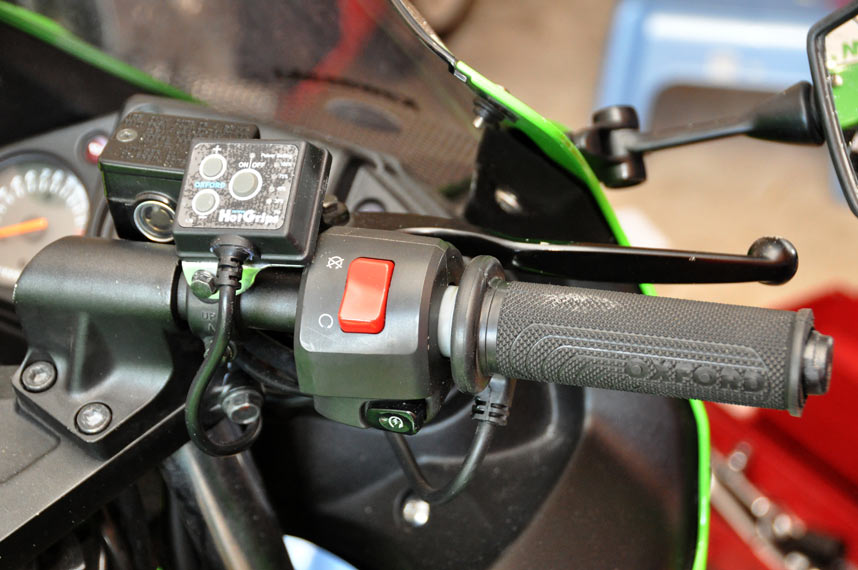
Supamodel bought me a set of Oxford Heated grips months ago and it was one of those ”oh next weekend” jobs, that we never got around to.. So this weekend just passed it was time to install the GPS, the heated grips and the Stebel Compact Nautilus horn and tinker with the wiring to provide power (only when the bike is on) for my GPS.
The Plan - made entirely of win.
------------------------------------------------
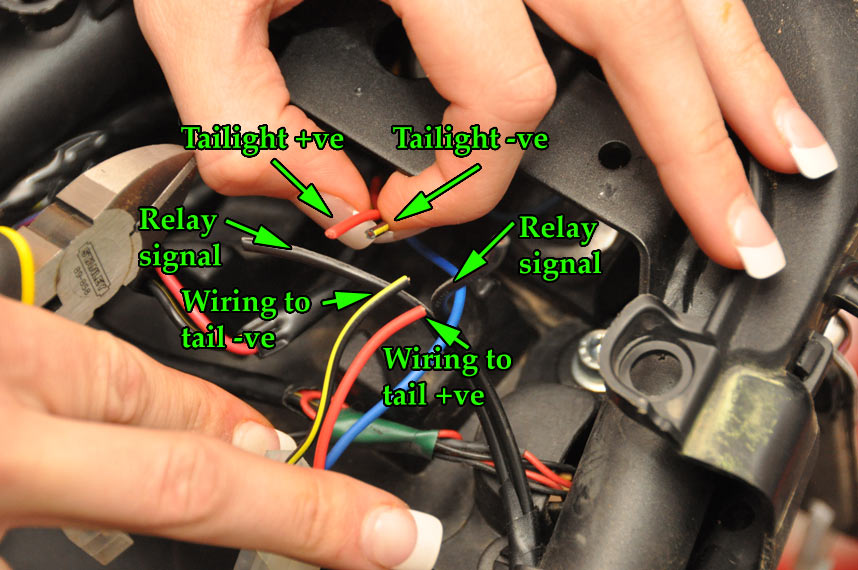
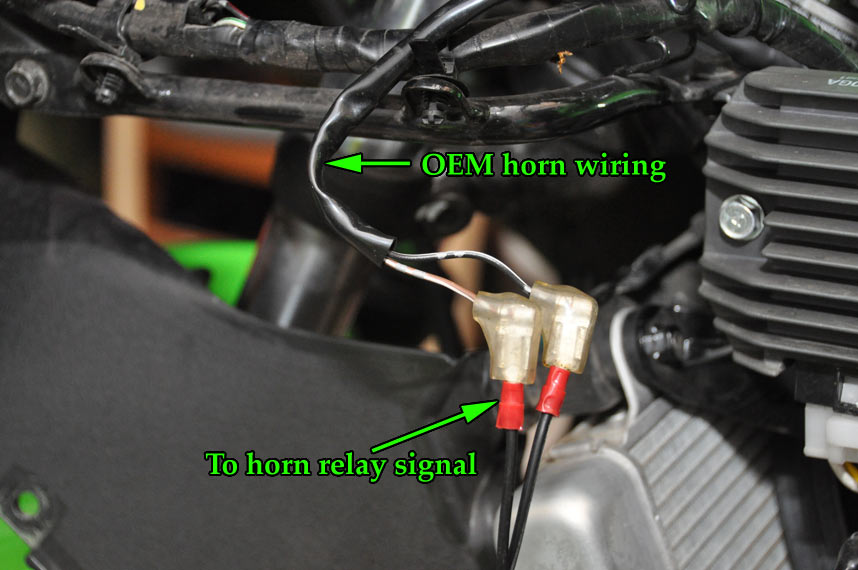
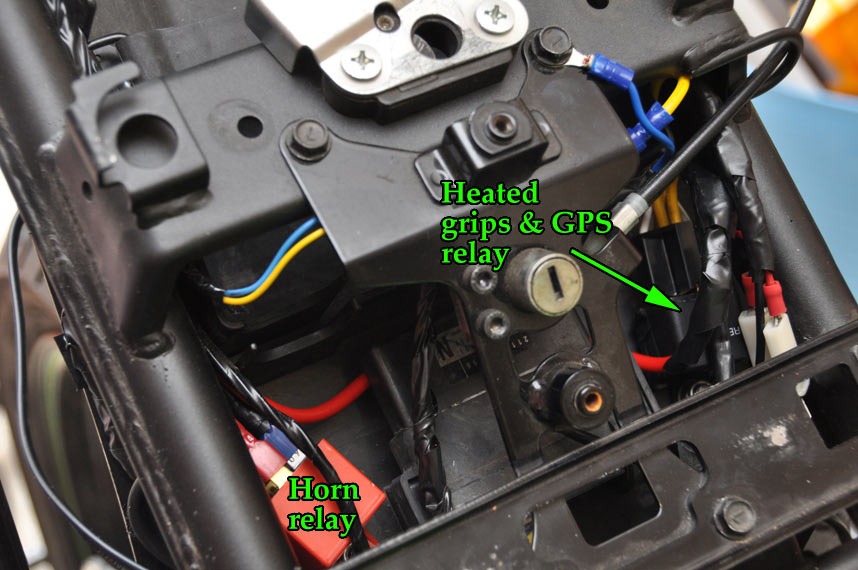
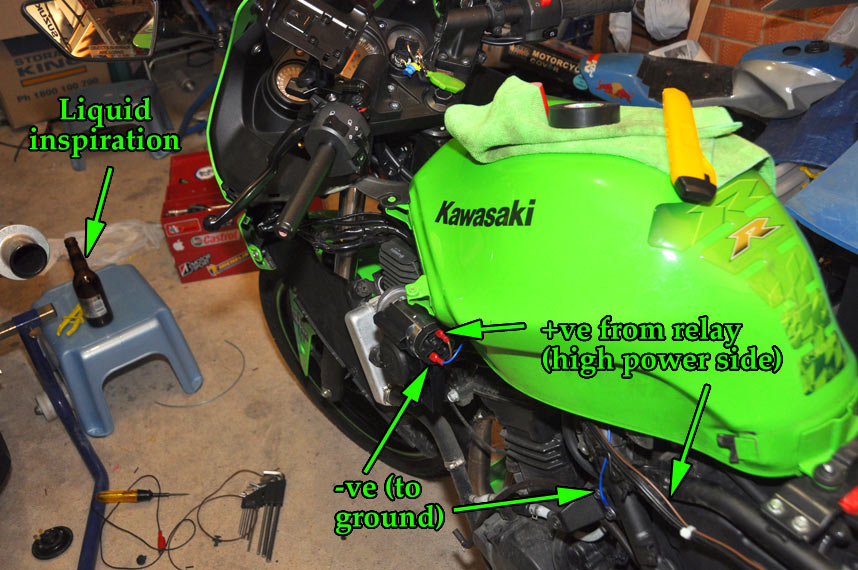
The plan was to install two relays. One would provide switched power for the heated hand grips and the GPS. The other would work for the horn: Stebel horns pull so much more power than normal horns they need upgraded wiring & switching.
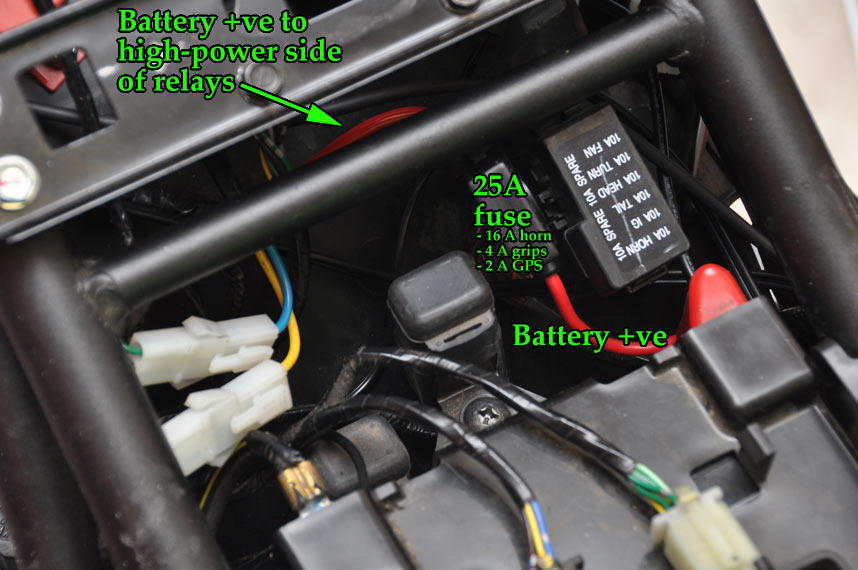
For those that don't know, relays take a signal of a low power (which can go through a switch), and bring in a high-power source (usually a BIG FAT lead from the battery). They are useful for devices that require more power than can go through switches.
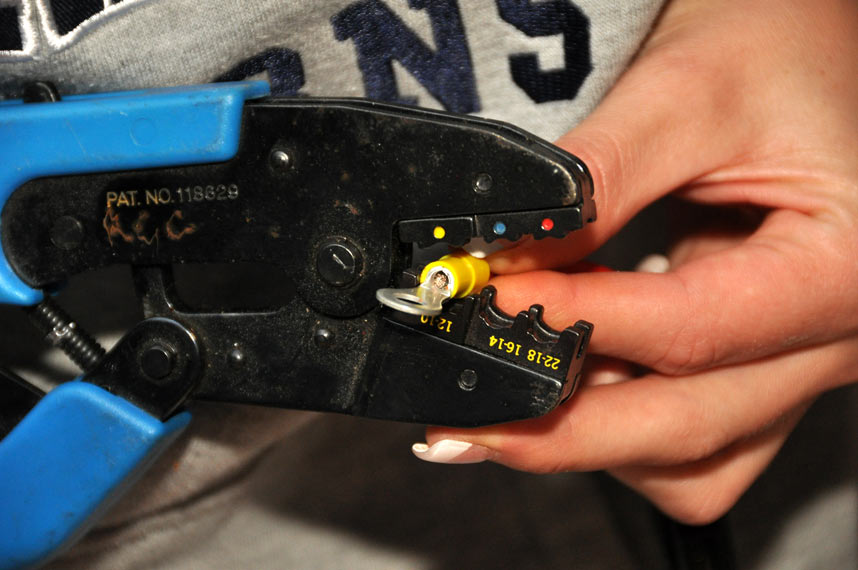
I’m a complete numpty when it comes to this electrical gizmo stuff, but apparently its really simple and it helps to know a couple of techniques. So here's how I soldered wires to join them, and how to do crimp connectors. Some people love them, some people hate them... This is not the only way to do electrical stuff, just how I did it.
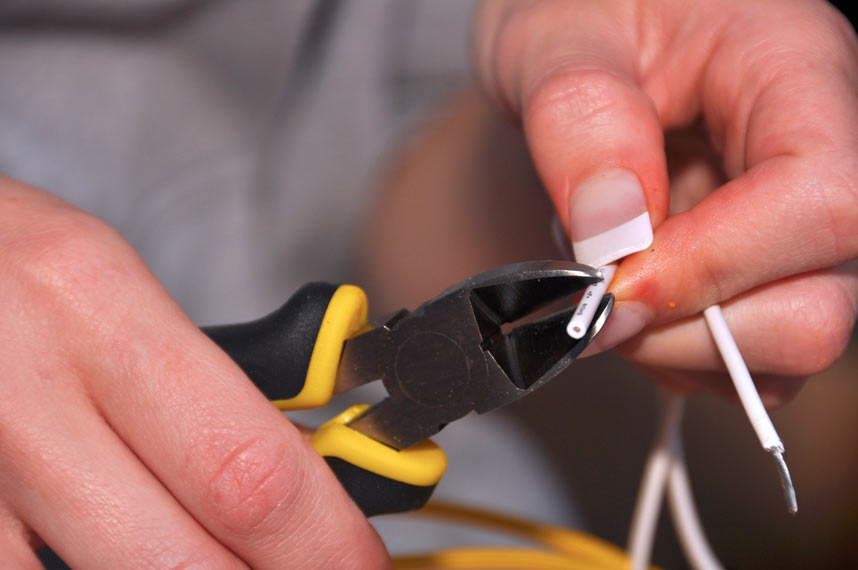
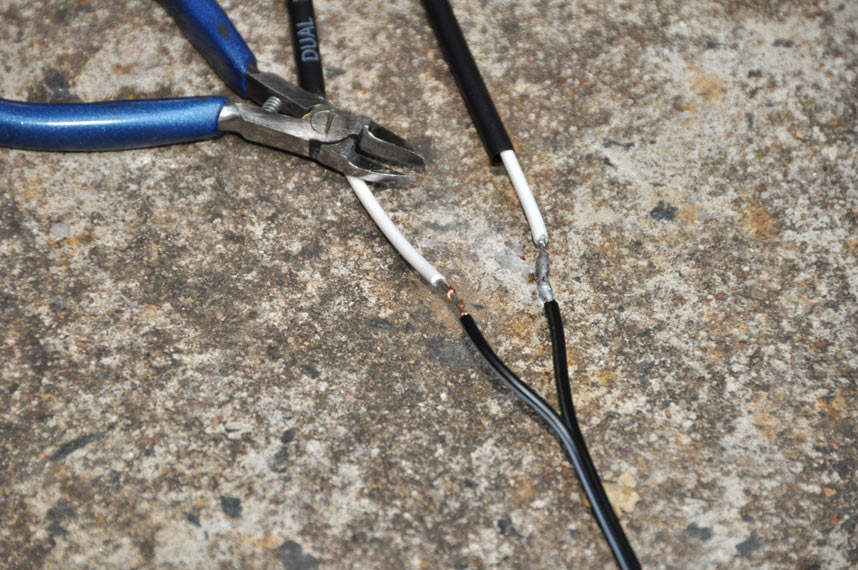
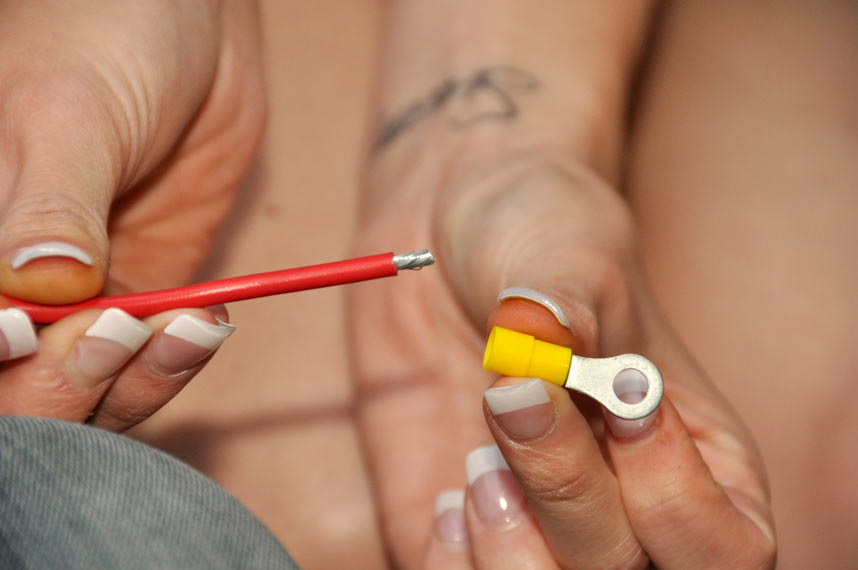
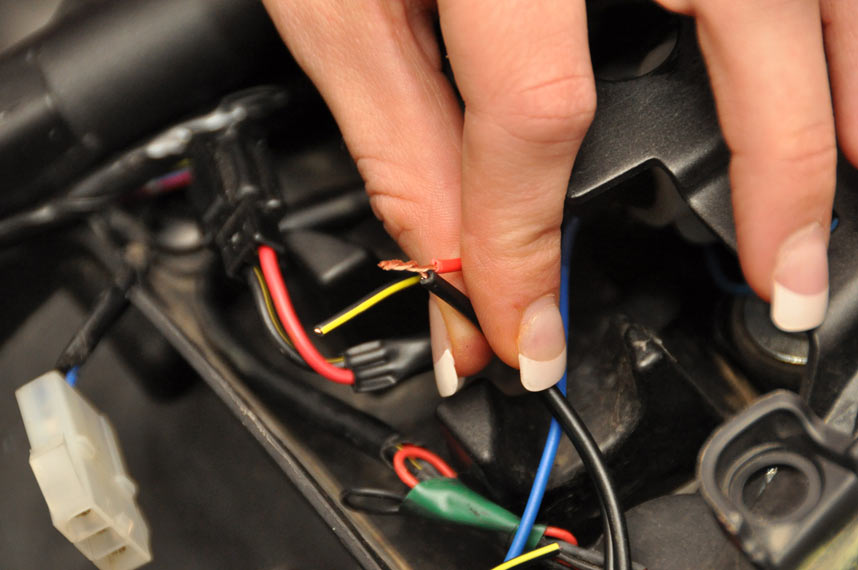
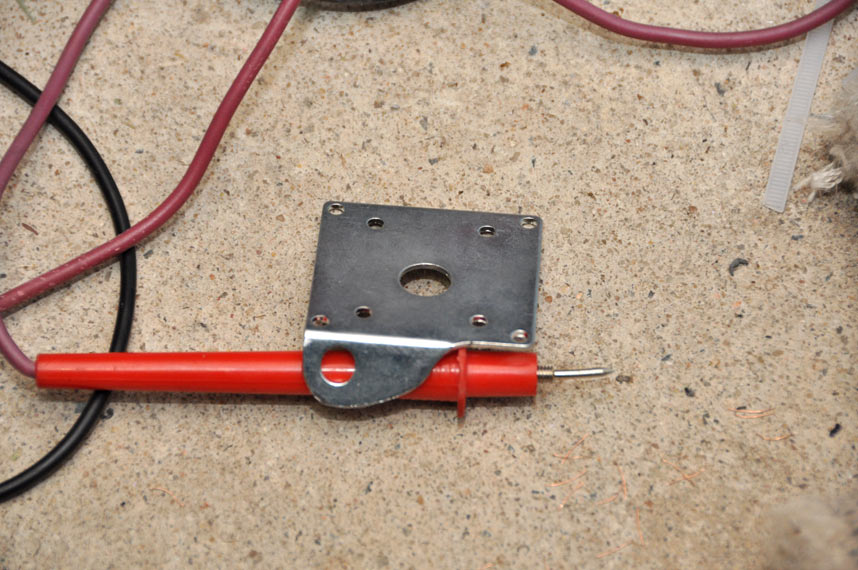
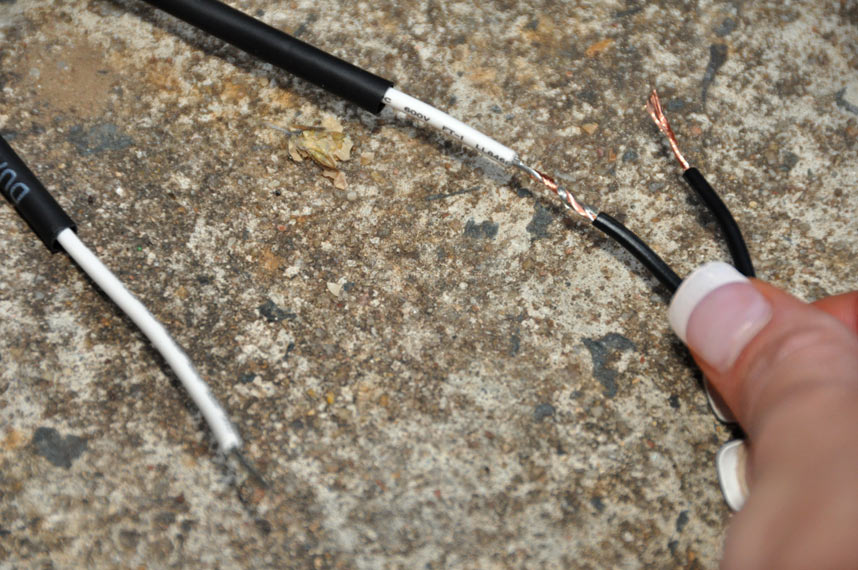
Stripping the ends of wires isn't hard, just use side cutters to cut through the insulation. Or your teeth (not recommended!)
Pull the end off and twist, to bring the wires together.
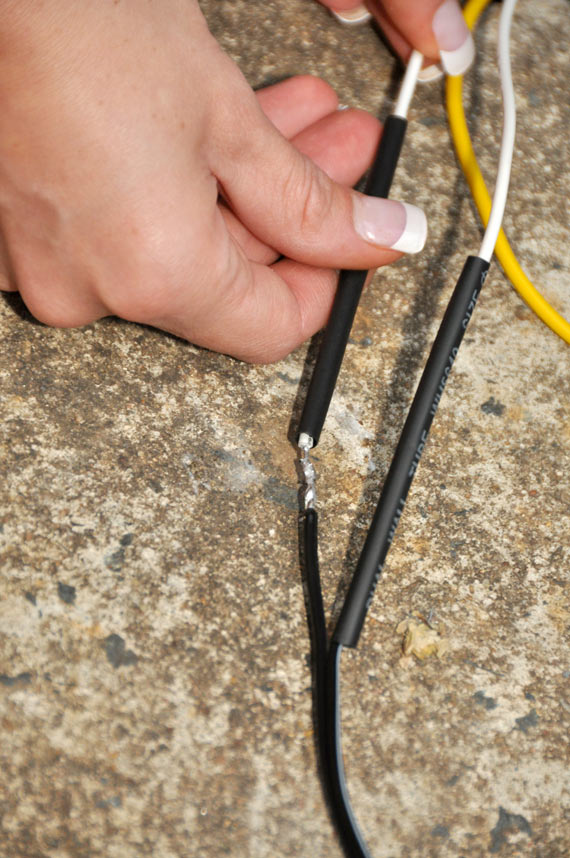
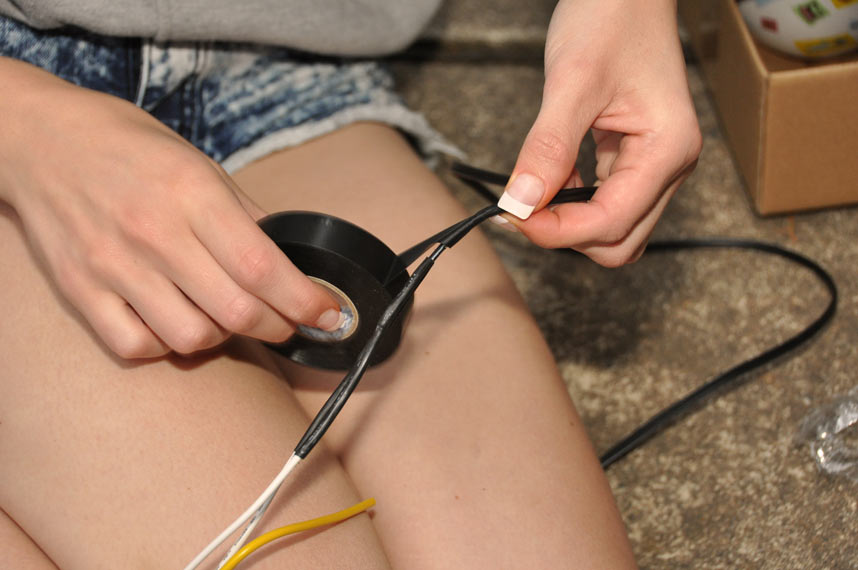
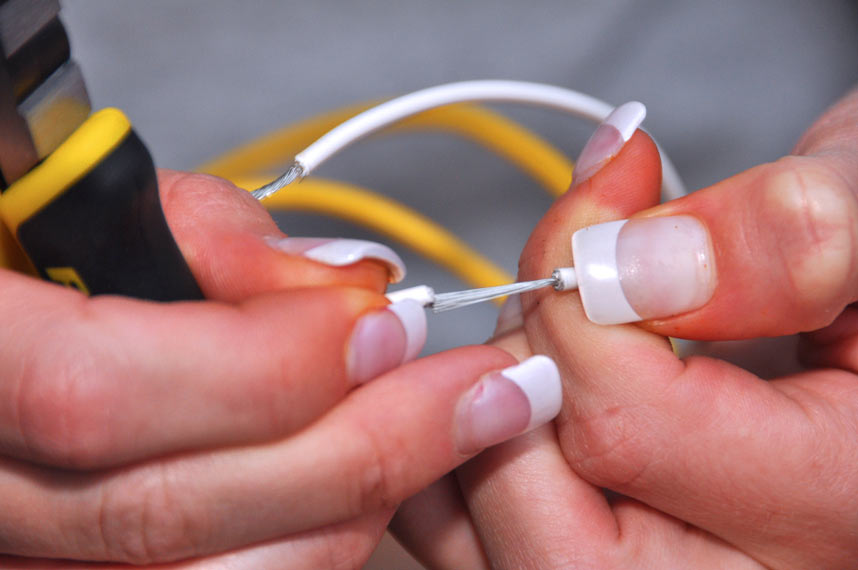
To solder, twist the ends of the two wires together. You can also tin the wires - this is where you put solder on each end of the wire, then solder them together. Twisting can work well too. Note the black heatshrink on the white wire, this is to act as insulation.
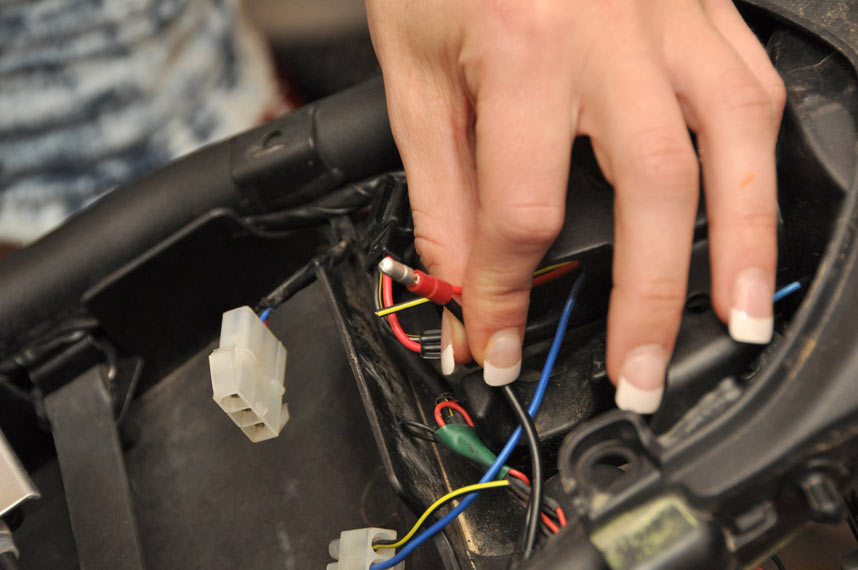
Wires twisted together.
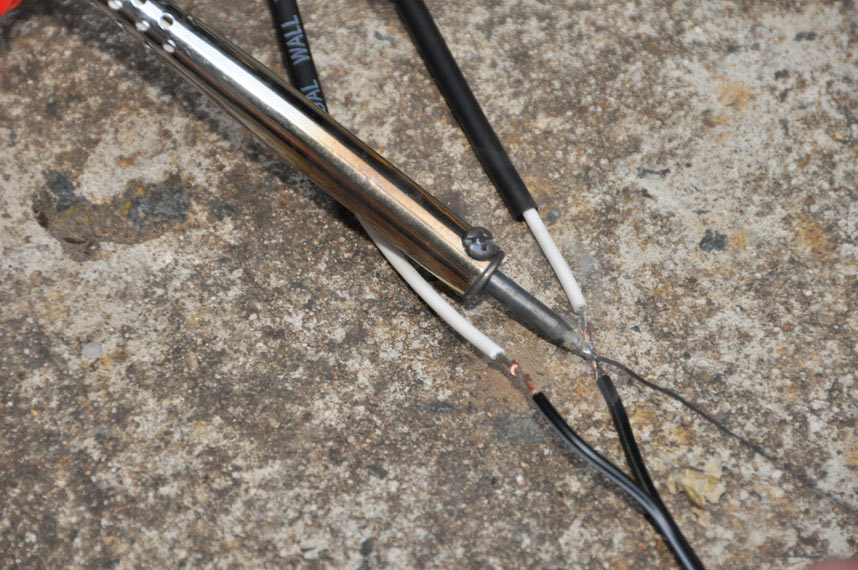
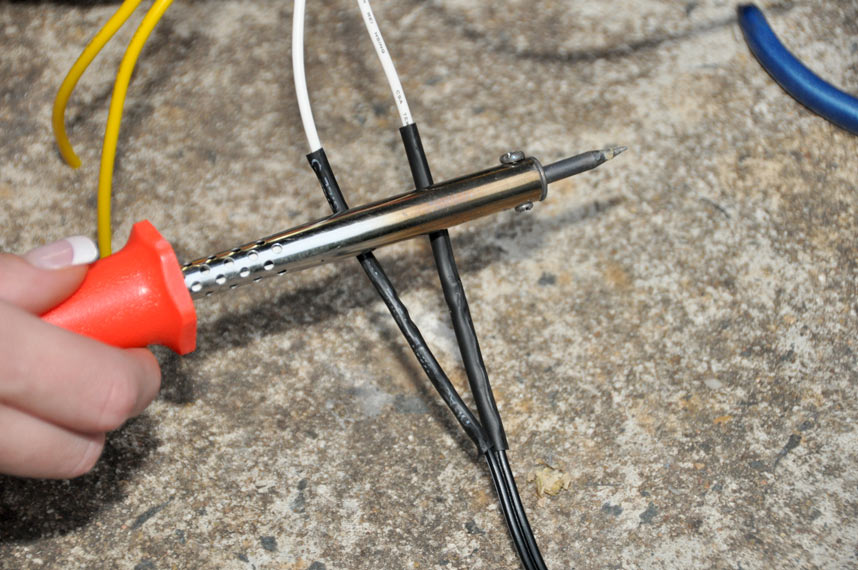
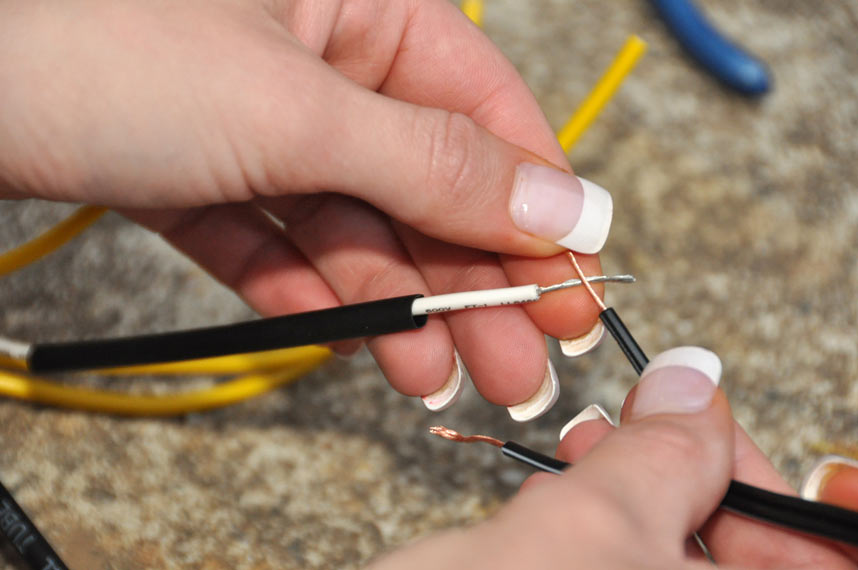
Soldering iron heating up the wires, and solder being fed in to join the wires. [note: I didn’t burn myself once – so it’s really easy – think welding on a tiny scale!]