
so riding gear section it is.
I have put together a few pics & a bit of a description of how the KSRC shirts are printed for those that are interested in the production.
As a sideline, I would like to thank Dave & Jus for all the work they put into the orders, collection of money & the monumental task of sorting & distribution.... trust me this is a huge task & takes up allot of their time to make this happen
It all starts with the design process that as most of you would have seen has been a collaborative process from original concept including the slogan then on to final proof ready artwork.
The garments were ordered early to avoid delays as usual with larger orders the suppliers have to scramble to get enough stock ready to send out, time taken including back orders was 5 days.
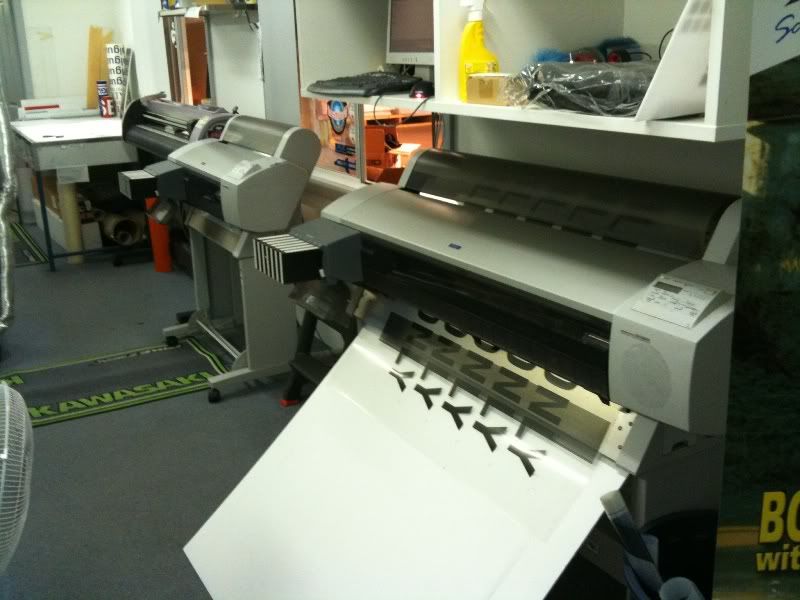
While waiting on the stock the artwork is colour separated & film positives are output on a digital printer
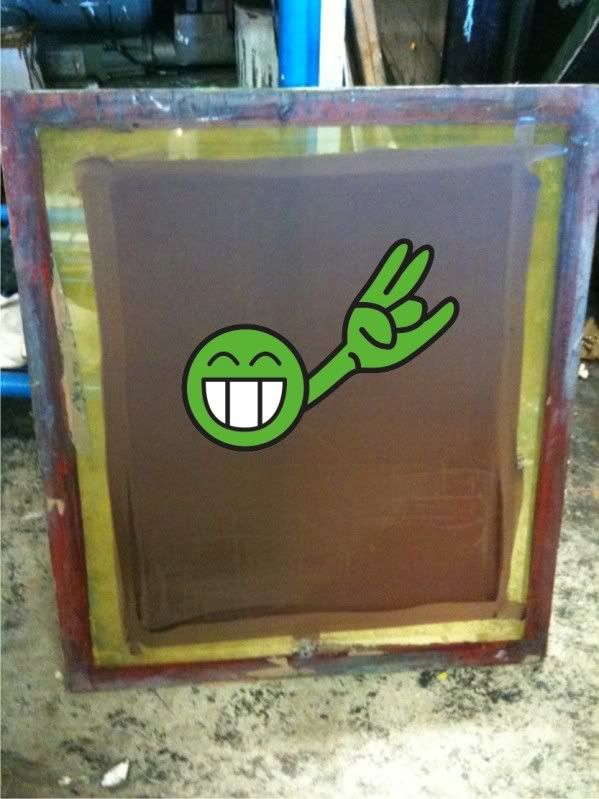
Because this job has kids shirts we have created 2 sets of film & 2 sets of screens (large & Small)
Here we have one set of two pieces of film being checked on the light table for registration accuracy

The screens are coated with a UV light sensitive emulsion & dried in a dark room
The film positives are then positioned on the dry screens & exposed to UV light under a vacuum blanket to create the image.
Here is the vacuum table opened to show the fluro tubes… anyone for a Tan?

Here are the screens after the unexposed emulsion has been washed out with water, the next step is to mask out the edges with tape & touch up any pin holes that may be present.

The screens are then set up in the carousel & the base boards are set to a position to suit the particular size garment that is being printed, obviously this needs to be changed throughout the print run with so many sizes to print
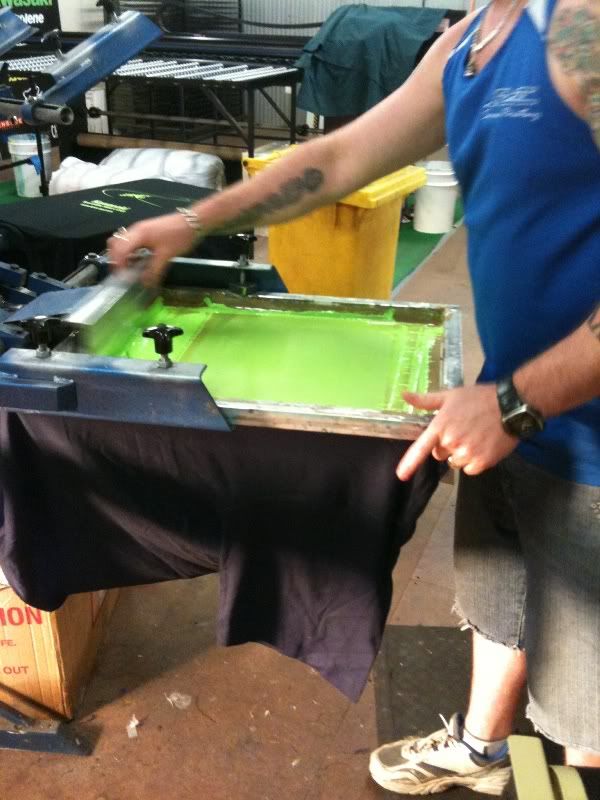
Here a green print has been done & the white screen is being lined up to the correct position, this part is tricky to get right

Once lined up & checked with a test print the printing on the garments can commence, we start with a green print
Then we flash cure the first layer of ink, this dries the ink in a few seconds using Halogen globes set on a timer that starts as the shirt passes under the unit
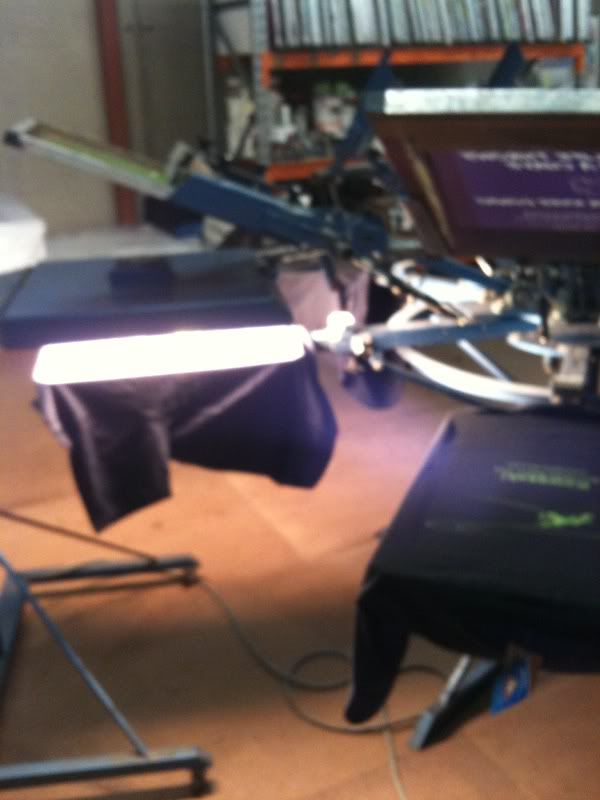
We then go back & print another layer of green to ensure an opaque layer & flash again before printing the first white layer of ink

This is flashed another time then the final white layer can be printed, the garment has 4 layers of ink & has been flash cured 3 times to get to this almost finished state.
We then have to do a final cure of the ink which is where we use the tunnel dryer, the tunnel dryer is set to 130 deg c & the shirt will stay in the dryer for up to 3 minutes to fully cure

The ink layers will fuse together & the ink will go through a curing process going from a liquid gel to a solid that will stretch with the garment

We have a much larger dryer & carousel for the really big jobs, in this case we have used the smaller carousel & dryer as it is quicker to set up.
So with all the sizes requiring 4 set ups to cater for front & back printing there is quite a bit of work involved in coming up with the finished garment, multiply that by over 250 & what looks like an easy job ends up taking quite a fair bit of time to produce.
Oh & personally I think this is one of the best shirt designs we have come up with to date


