Picture time, hope they give a good idea about this, video to hopefully to follow once i muck about with the editing.
Practice run from the underside
test run.JPG (134.18 KiB) Viewed 4507 times
Practice run from the top, not so glamorous.
test run 2.JPG (125.29 KiB) Viewed 4507 times
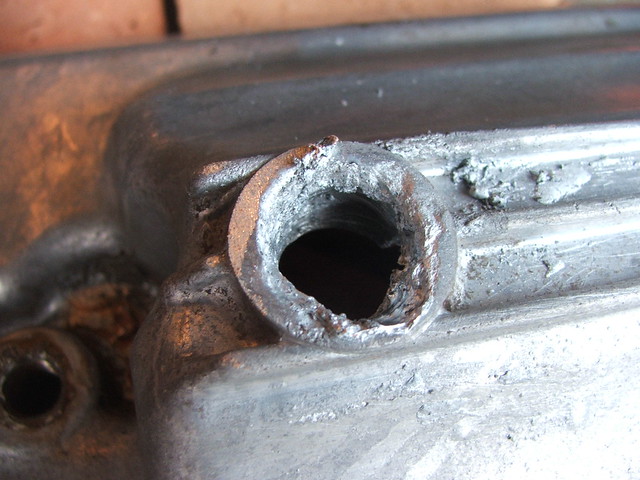
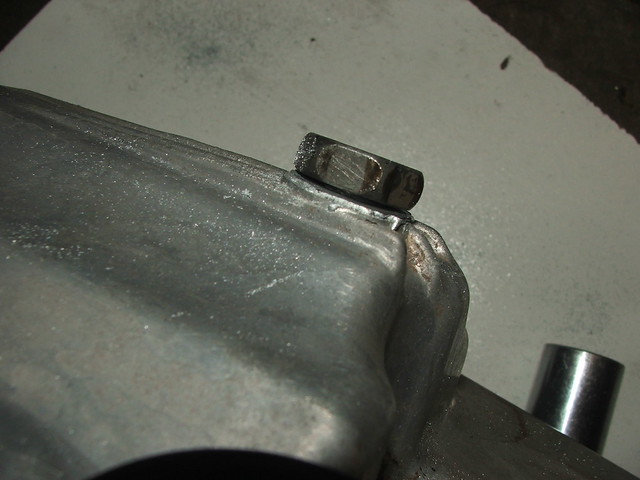
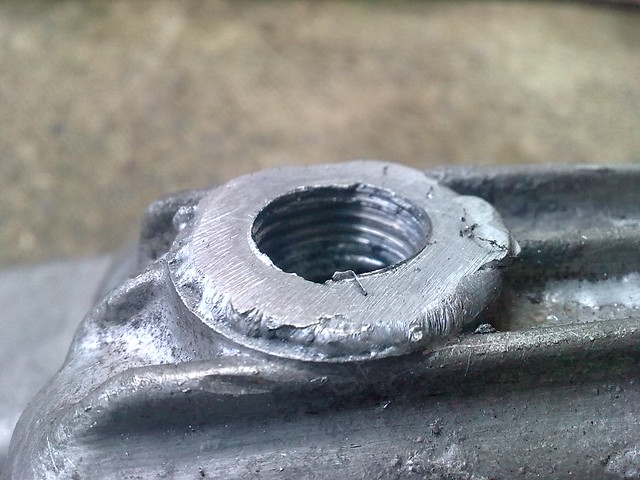
Sump plug threaded from the inside on the actual damaged component so you can see what I'm working with.
plug threaded from the inside.JPG (126.54 KiB) Viewed 4507 times
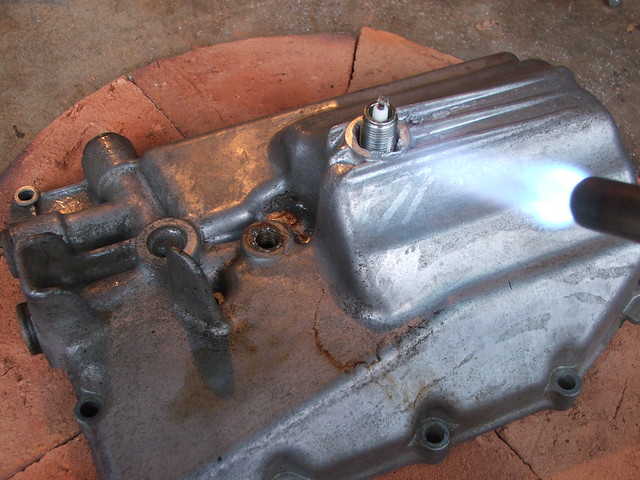
Don't forget to do it on a surface that will be able to withstand the temperatures, there's a risk cement will crack due to the residual moisture, the unit strata would be pissed if i managed to damage something.
about to get started.JPG (163.73 KiB) Viewed 4507 times
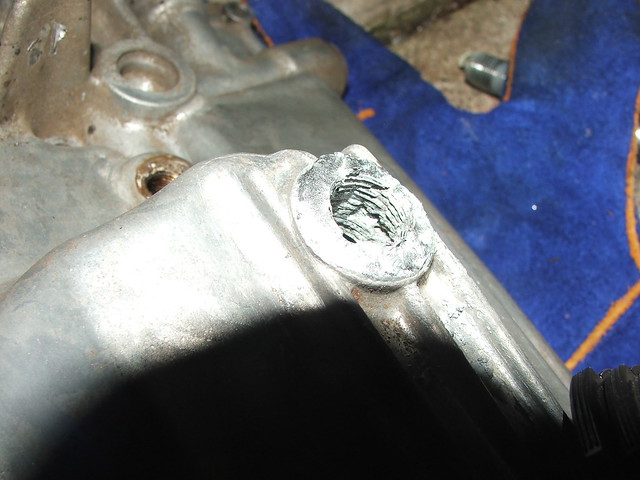
From one side
finished product 1.JPG (135.24 KiB) Viewed 4507 times
And the other side
finished product 2.JPG (128.96 KiB) Viewed 4507 times
Lastly from the underside.
finished product 3.JPG (136.06 KiB) Viewed 4507 times
Now remember this was done with a thread that doesn't fully penetrate the filled part, and also with that gap in the underside i mentioned earlier where molten alloy pissed out of (and will be blocked with a looped bit of brass or cut to suit piece of steel when i redo it this weekend) stopping the thread fully forming on the inside. That was something i was more pissed about than the messy top section i am going to have to take down in order to redo this thing.
Good job on that.Whats that stuff like as far as strength?
Looks like you got it running like silver solder.Getting the job heated just right then loping the filler in and letting it run around the gap.
Strength wise i can only go by prepping it/smoothing it, but it's a lot harder than aluminium from what i can tell.
As to the procedure, preparation and heating the whole item is critical, partly for that warp factor mentioned earlier and if the whole thing is hot, then there's less heat that will be stolen from the work area by cooler parts and will make your life a lot easier overall.
Wiith fluidity, the difference between getting the alloy hot enough to melt and glob and to a higher temperature and running sufficiently to be able to wick into all the pores of the aluminium is small but noticeably different. One second it's flowing smoothly then the next it's all lumping up and needs another 5-6 seconds with the torch on it to get it back up to temperature.
When it's at that higher temperature the alloy is quite nice to work with and as you said id basically acts like an extremely high temperature. If the surface isn't prepped correctly it just balls up, but if it has been cleaned thoroughly it just spreads all over the surface and sticks like shit to the proverbial, which is what you want.
Ok, here's the latest and hopefully last update in this "adventure". Sorry about the delay, have been working as well as waiting for all the rain to go away as doing this kind of thing inside near two partly fuelled bikes and a collection of random aerosol cans is not the smartest thing i could be doing.
Video:
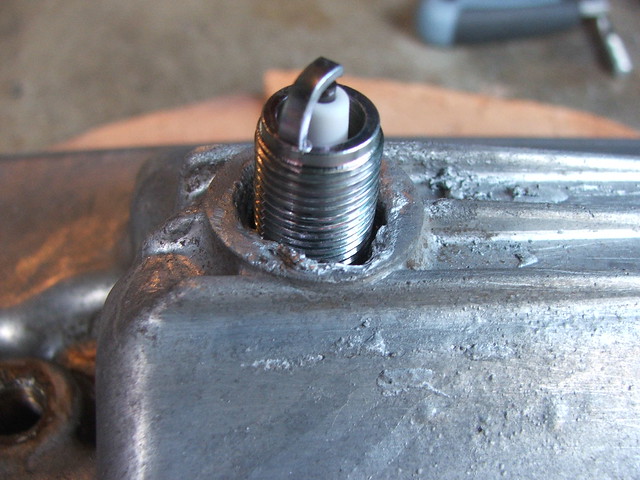
I removed the majority of the allow as a test run showed that even with the unthreaded part filed out, the remaining thread was flattening out the fresh thread of the new spark plug. Not exactly ideal, so it was removed.
By fitting a deep spark plug I was able to make 100% sure that i was going to have enough thread there to be able to have a thread the entire way through. At least that was the plan. Also as a side note, a spark plug seems to be the only 14mm threaded object i could find with the correct pitch for this (1.25 for the curious).
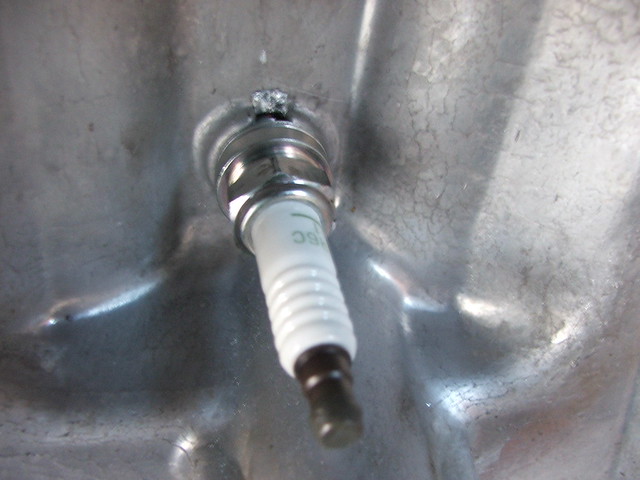
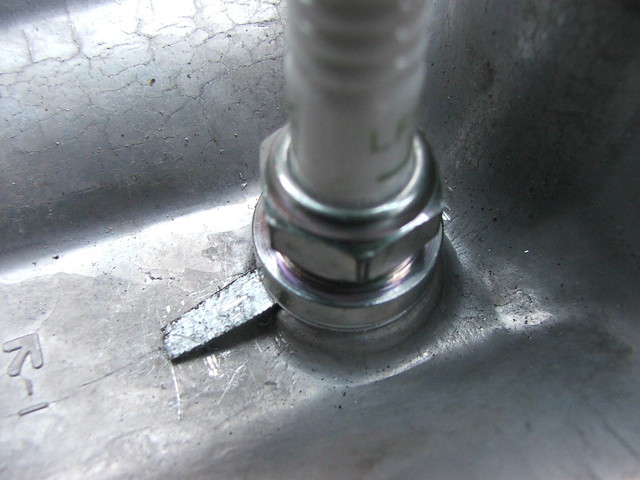
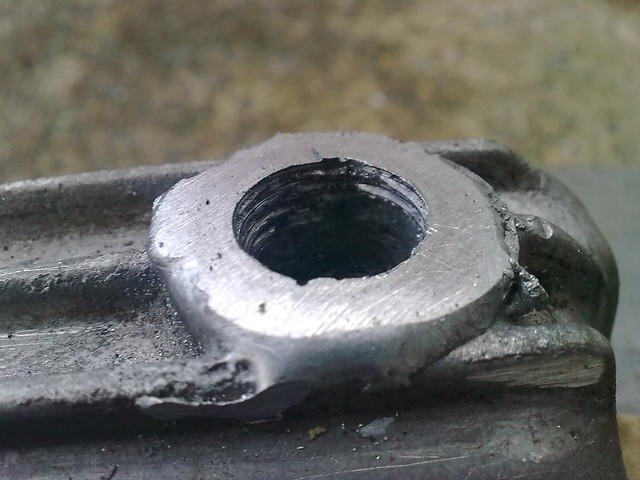
Just showing the underside of the spark plug fitment to the oil pan in preparation for the repair
Hopefully this does enough of a good enough job to stop a leak springing up.
Thanks for the suggestions of heat bricks, made a hell of a huge difference to how quickly the job heated up.
Unfortunately the thread job was more crap and less spectacular, but the top 3-4mm of thread at each end is pretty solid, meaning it should hold provided i smoothed the face off sufficiently well.
I'll be checking in the morning, but I am hoping that this will do a good enough job for what i am after.
It was a long learning process even just to get this as far as it has come.
Redone. This time i jiggled the sparkplug about to get more alloy in between it and the pan and amazingly it worked. However it was a right bastard to remove it and i had to resort to using a rattle gun to do so. But the mating surface has been made totally level (another reason i put a lot of extra metal on the surface so i had enough wiggleroom to be able to adjust the surface with a file), tested as oilproof and the pan is back on and everything is working again. Now begins the process of putting all the shit back on .
Last edited by mike-s on Thu Apr 28, 2011 8:16 pm, edited 1 time in total.
Mike the reason the you needed to jiggle the spark plug was the the differential in the retention of heat by the 2 different metals spark plug steel/ sump alloy How ever a fine result
Differential? I know they have different heat retention properties and i'm a little dubious of that being an influential factor as i kept both the plug and pan under heat continuously while i moved the spark plug about. I got the plug glowing a cherry red and kept the alloy totally fluid while I twisted it with a pair of pliers holding the plug by the anode to help the fluid seat better.

")